HomevisionXL control
It may be useful to check the state of timers, scheduled- or periodic events. These overviews were already available as web pages and they have now also been added to the Control menu. All these windows show a snapshot of the information at the time of the last request for an update.Timer control
The timer window will display the timer values and their state. From the context menu timers can be Loaded, started, stopped and resumed.Scheduled Event Control
The scheduled event control window shows the next exuction time (especially useful for sun based events, or events that contain a random component) and their state. An asterisk will be appended to the time indication if it refers to the next day. Each scheduled event can be enabled, disabled, or rescheduled. It is also possible to immediately execute the actions of a scheduled event.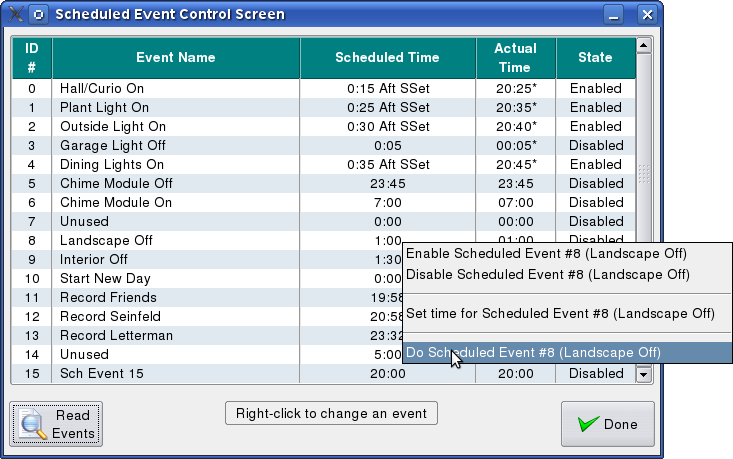
Periodic Event Control
The periodic event control window shows the event rate and the state of all periodic events. Periodic events can be enabled, disabled, and the event rate can be changed. It is also possible to immediately execute the actions of a periodic event.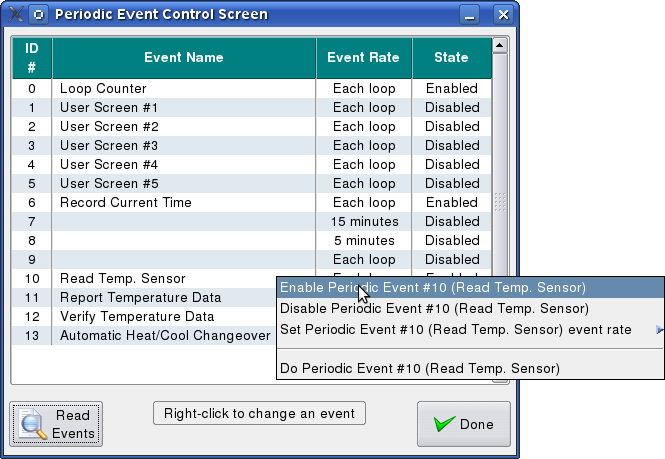
Custom lighting control
The custom lighting control screens allows individual lights to be controlled. The lights can be switched on or off, dimmed, brightened, or set to a specific level with a selected ramp rate. Also scenes can be set, if supported by the lighting system.X-10 control screen
The X-10 control screen of HomeVisionXL has a slightly different layout from the screen used in the original software. The X-10 module to control can be selected by name instead of by ID only. The user can limit the number of displayed modules by specifying which house codes are in use to make it even easier to find the desired module. The HomeVisionXL X-10 control screen will also display the current state of each module, if known. Finally, sending the standard X-10 commands is implemented differently, generally requiring less mouse clicks to transmit the signals.Timers can be configured to catch up after download
The Timer summary screen has a new option that allows the user to specify initial state of each timer. Available choices are "Stop & Clear", "Stop" and "No Change". "Stop and Clear" is the familiar behaviour from the Windows software that causes the "Running" flag of the timer to be cleared and the timer value is reset to "0". The "Stop" selection clears the "Running" flag, but does not change the timer value. The "No change" option keeps the timer running during the download of the schedule. After the download has completed and the controller is running again, the timer will catch up. If the timer would have expired during the download, the "Ringing" flag of the timer is set and the associated actions will be performed.Next: Plugins