HomeVisionXL Control Plugin
The HomeVision Control plugin allows users to create their own screen layout for controlling and displaying all available objects in a schedule.
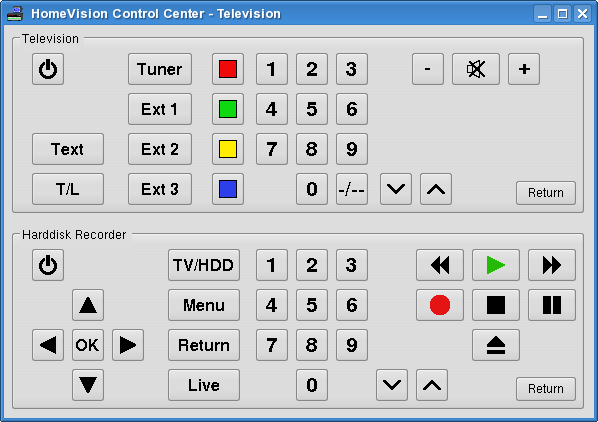
The user can create multiple pages with buttons and labels that can be interactively positioned and reshaped. The buttons and labels can be configured to display text or an image and even a combination of the two. Calculations can be performed on the object state and the result can be translated into a descriptive string before displaying the information. It is also possible to display an image based on the result of the calculation. A button can perform a sequence of actions, like setting a variable and then executing a macro. The user also has full control over the color, font and appearance of the labels and buttons.
To allow the plug-in to keep track of object state changes, automatic reporting has to be configured.
The picture above uses a custom widget style, a feature that was introduced in version 4.2 of the plug-in. This requires quite a bit of processor power for doing the image processing. On slower machines it may be better to stick to the "Plain" widget style. Plain widgets can be drawn much faster than widgets created by stretching an image.
Image formats
On its own the plug-in only recognizes the GIF image format. Support for
additional image formats can be added by installing the
pixane image
handling library from Evolane. Just
download the pixane zip archive and unzip it in the plug-in directory. The
plug-in will then automatically find the library the next time it is started.
Examples
Here are some screen shots of what other users did with this plugin:

For more information, see the help pages included in the control plugin.