Tweet Plug-in
There is no reason why social media should be limited to humans only. Using the tweet plug-in you can have your Homevision keep you up-to-date on events via Twitter.
 After installing and enabling the plug-in you have to configure which
twitter account will be used for the tweets and authorize the plug-in to
send tweets on behalf of that account. This can be done by selecting
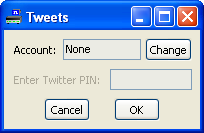
the Tweet entry in the Plugins menu. A configuration screen will appear
which initially shows an account name of "None". To change the account,
click on the "Change" button. This opens a twitter login screen in a web
browser. (If you were already logged in to twitter before, a screen with an
Allow and Deny button will be displayed instead.)
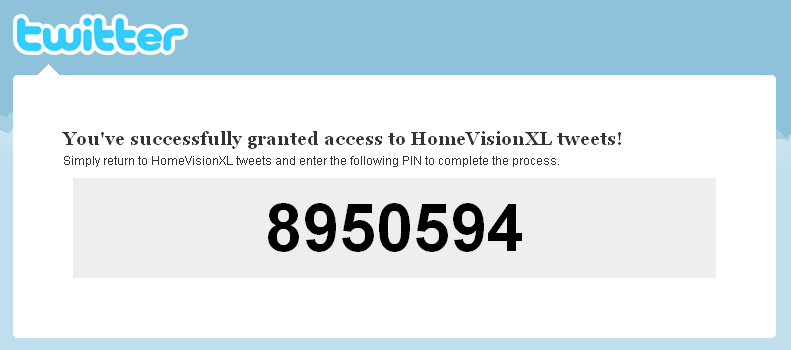
After you log in to Twitter with the credentials of the account you want to use for your Homevision tweets, you receive a PIN code. Enter (or copy/paste) this PIN code into the configuration screen of the Tweet plug-in and click the "OK" button.

Now, whenever your schedule sends a serial string on the main serial port that looks like: Tweet "message", the twitter status of the selected account will be updated with the specified message.
Messages also can be sent from a file using the form: tweet file "filename". If "filename" is a simple file name, tweet assumes the same path used for "Write to File". Otherwise, "filename" should contain an absolute path.
Messages longer than 140 characters are broken into multiple tweets.
Note: You probably want to create a twitter account separate from your own for your Homevision tweets. And, if the tweets may contain useful information for burglars to determine when nobody is home, switch on the Tweet privacy option.